
The Ultimate Guide to Use a Grain Grinder.
How to Use Your Grain Grinder: A Step-by-Step Guide
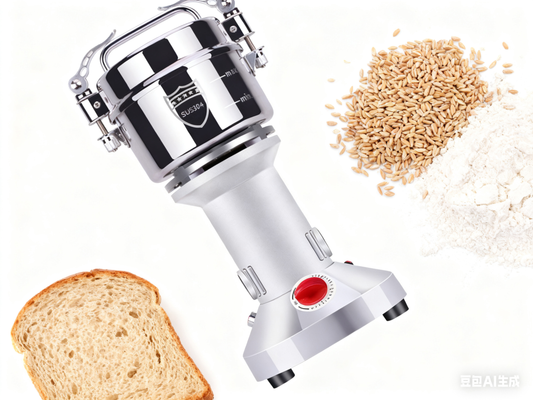
Integrating a grain grinder into your kitchen can elevate your cooking by allowing you to create fresh flour from whole grains. Whether you're baking bread or making pancakes, knowing how to use your grain grinder effectively is essential. Follow this simple step-by-step guide to get the best results from your machine.
Step 1: Add Dry Materials
Start by adding your dry grains into the grinding container. Ensure that the amount of grains is between the minimum and maximum capacity indicated on your grinder. This is crucial for optimal grinding performance and to prevent overloading the motor.
Step 2: Close the Lid
After adding the grains, securely close the lid of the grinder. Make sure it is completely sealed to avoid any spills or mess during the grinding process. A well-closed lid is essential for both safety and efficiency.
Step 3: Press the Start Button
Now it’s time to begin grinding:
-
For Upright Models: Simply press the start button and ensure that the machine is running smoothly. These models typically operate with straightforward controls.
-
For Swing Models: You’ll need to shake the body back and forth gently while the machine is running. This action helps achieve a more uniform grind, ensuring that all the grains are processed evenly.
Step 4: Open the Lid and Enjoy
Once the grinding process is complete, turn off the machine and carefully open the lid. Exercise caution to avoid any remaining flour dust. Now you can enjoy your freshly milled flour! Use it for your favorite recipes, from bread to pastries.

Conclusion
Using your grain grinder is a simple yet effective way to enhance your baking and cooking. By following these steps, you can achieve freshly ground flour that adds flavor and nutrition to your dishes. Embrace the art of milling your own grains and enjoy the benefits of freshness in your kitchen!

No comments
How to Find a Best Home Mill Grinder? Check This Article First!

The Ultimate Guide to Use a Ice Crusher.

The Essential Guide to Ice Crusher Kitchen.

0 comments